Note: This post refers to code and a project from many years ago 😱. The content was edited in March of 2025 to remove dead links, improve clarity, or fix formatting, but no other edits were made. Enjoy this time capsule into the past.
I recently added a WRGB LED strip to the top of my bookshelf using WS2811 LEDs or as my friends at Adafruit call them NeoPixels. I chose RGBW LEDs so I could get a nicer white and use less power than a traditional RGB strip.
Parts List:
Required:
- NeoPixel Strip ( https://www.adafruit.com/product/2837 )
- Particle Photon ( https://www.particle.io/products/hardware/photon-wifi-dev-kit )
- AC/DC Power converter with 5V output. Lots of options here, make sure it’s powerful enough for your strips’ length. I used https://www.amazon.com/gp/product/B01B1QKLR8/ )
- 470Ω Resistor
- 1000µF (6.3V or higher) capacitor
- Wires.
- Breadboard or blank circuit board
Optional:
- Seeed Particle Photon Base Shield ( https://www.seeedstudio.com/Particle-Photon-Base-Shield-p-2598.html )
- Grove Connectors
Setting up the Hardware
The first step will be to wire up the power and data pin to the LED strip. You can use a traditional breadboard or for a more permanent solution solder directly to a blank circuit board. I’m using a Grove Photon shield and Grove connector. I find this gives me the clean connections I’m looking for without requiring direct soldering onto the Photon.
Adafruit has put together a great guide on NeoPixels so I won’t be going into too much detail here. While the whole guide is great I particularly recommend the part on Powering NeoPixels which will help you determine how large a power supply you need and other safety concerns.
I used D2 but any available data pin will work. Going to the strip the capacitor will be placed between the Ground and VCC ( + ). This makes sure that the strip doesn’t get too much power.
The resistor is placed between the D2 pin and the strip. Like the capacitor this prevents the board from getting too much power and overloading.
One important note is to make sure you are sharing the common ground between the Photon and the LED strip if you forget this step the strip won’t be able to be controlled by your board.
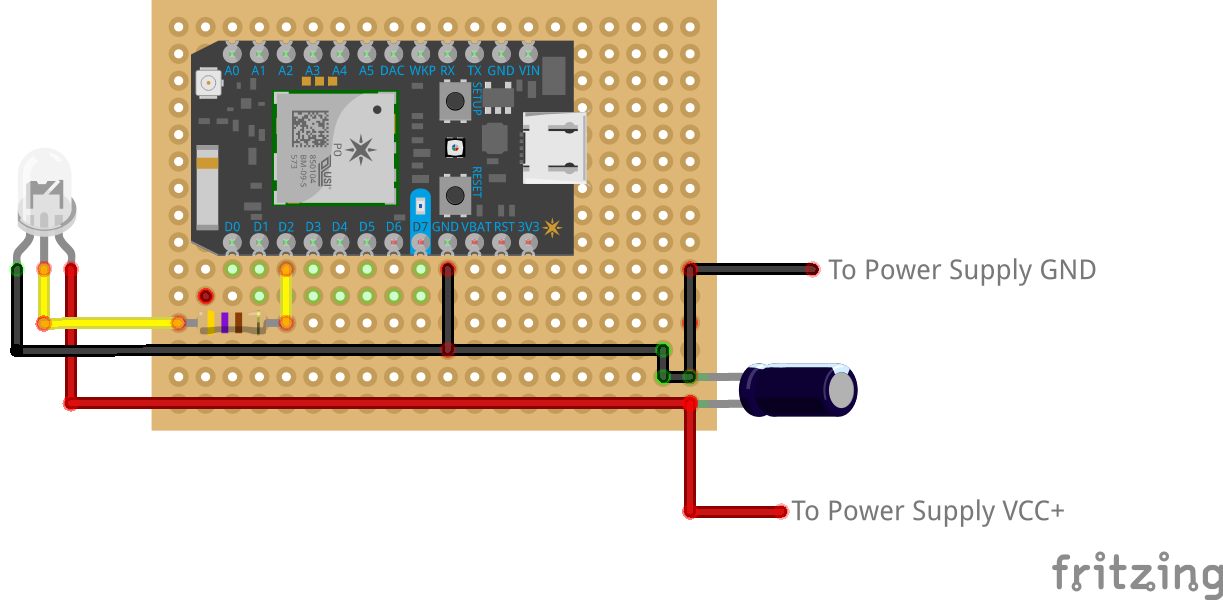
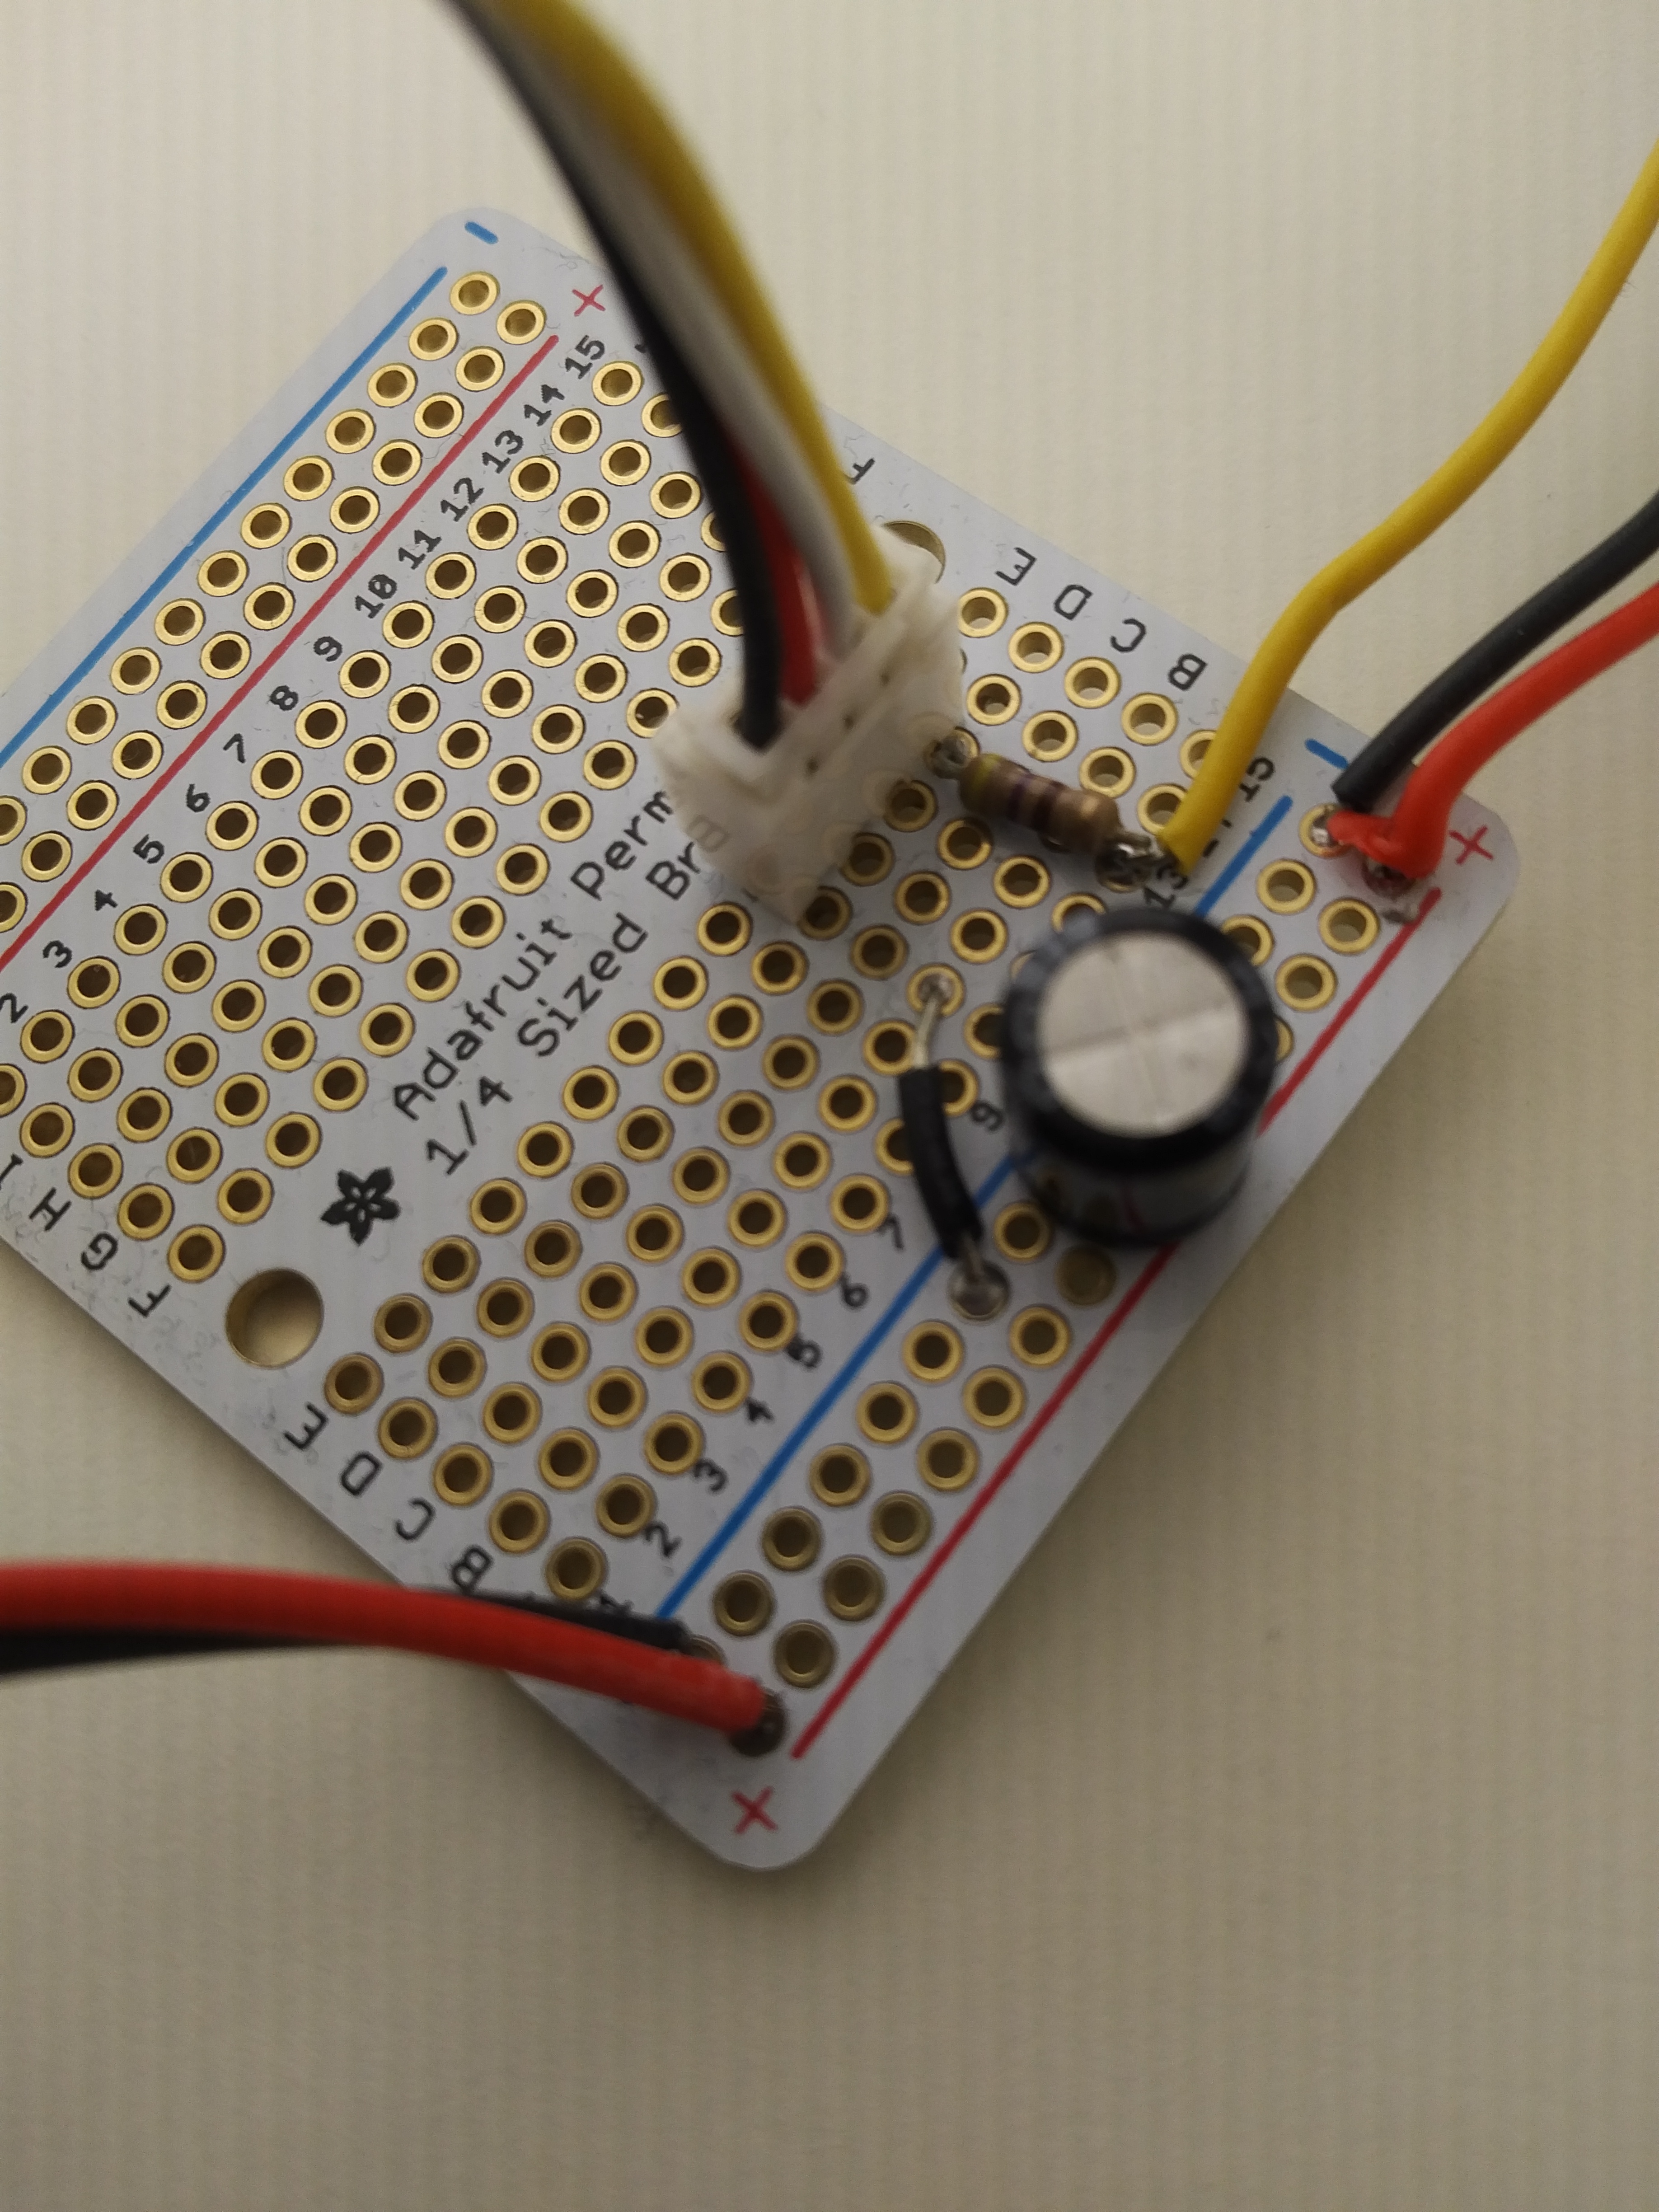
Here’s what my final board looks like. With the Grove connector between the ground and data connections.
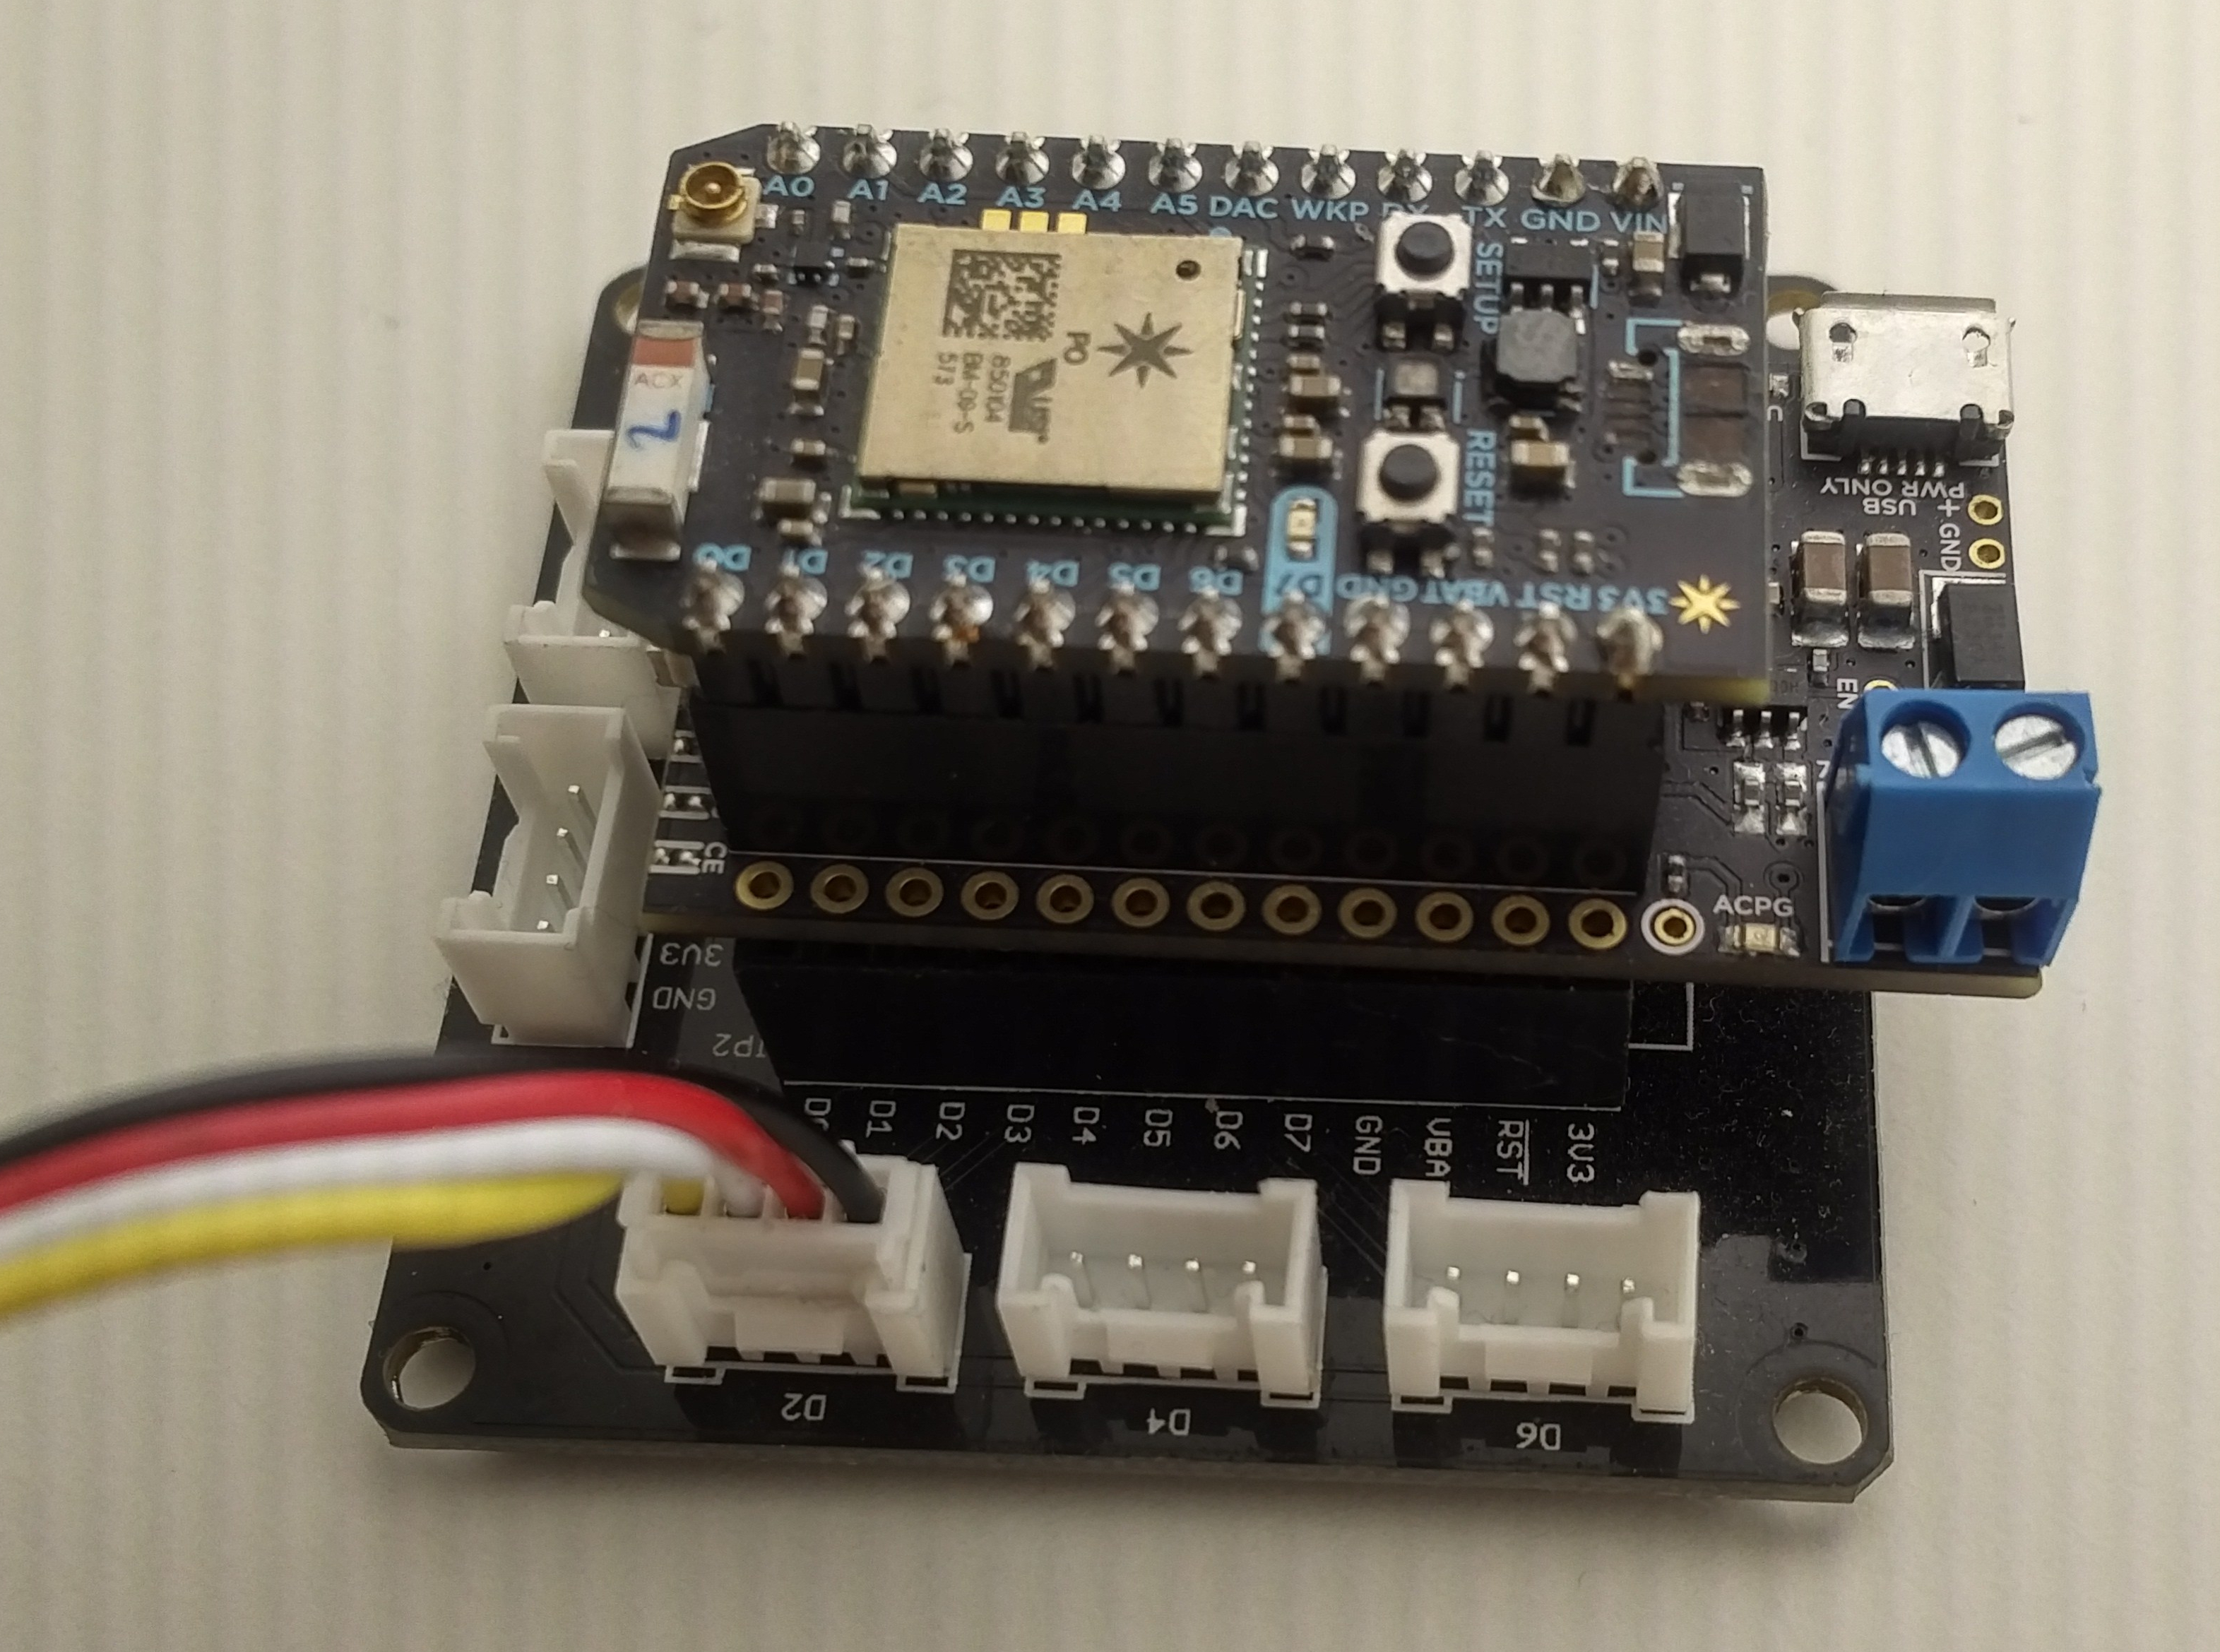
Here’s an image of the Photon. My particular device had its USB port snapped off (oops) so I used a Photon Power Shield to add back in the USB power. This also gives me the option of powering the device directly from my DC Power supply if I wish.
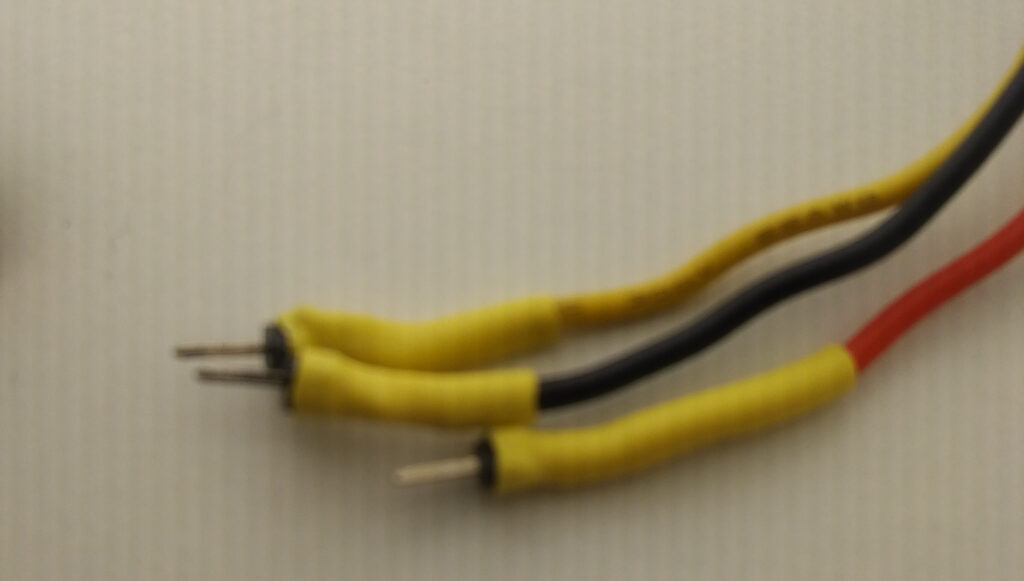
I also went ahead and added a connector to the end of the LED strip and shink wrapped the connections. This makes for a nice clean setup.
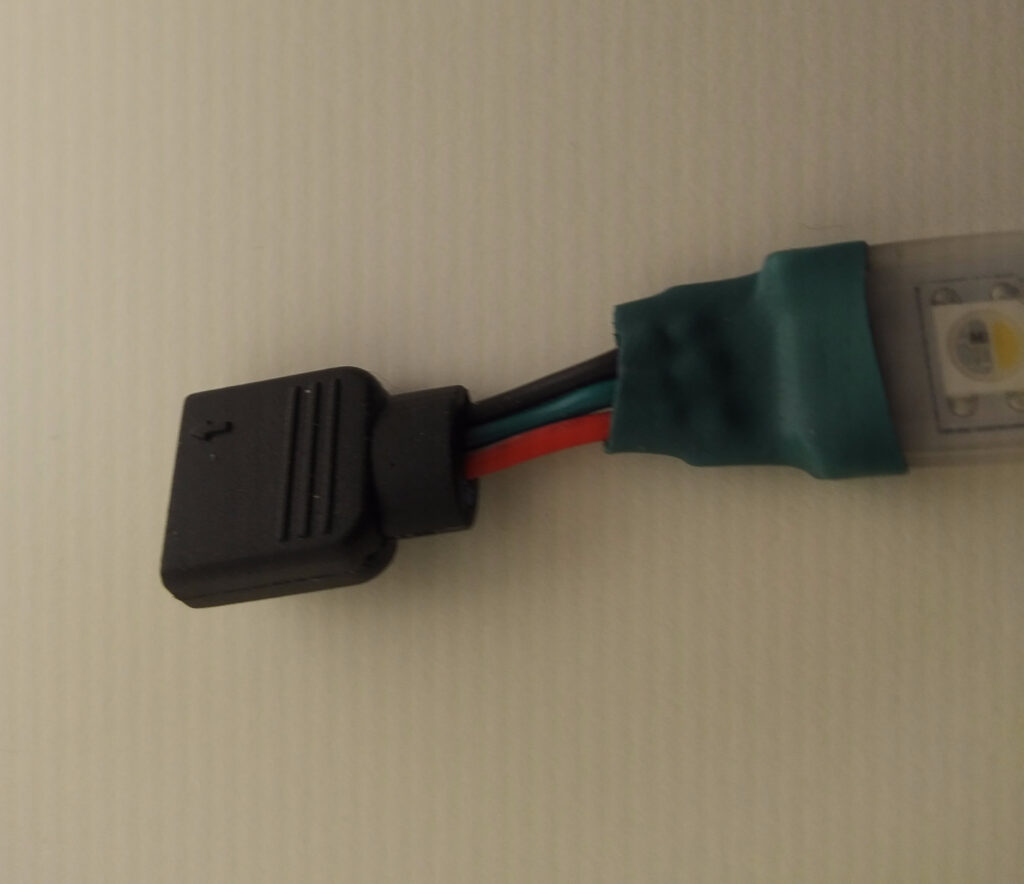
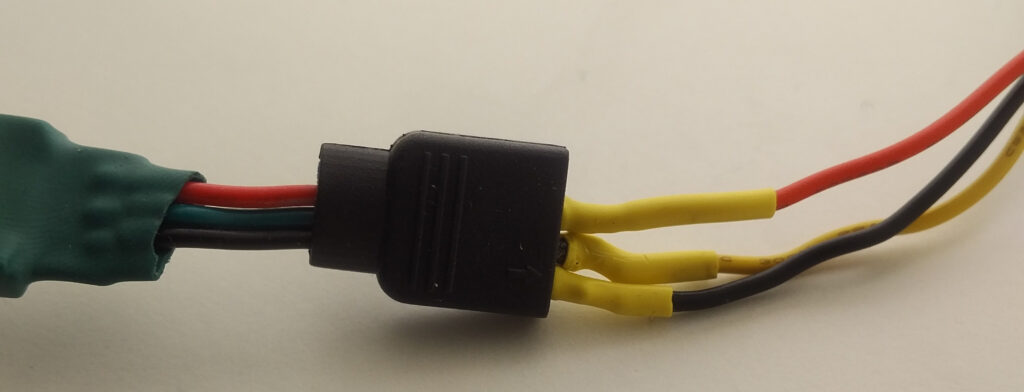
Setting up the Firmware
I am using the NeoPixel Library by Adafruit and the Particle Cloud API to send and receive data to/from the strip. You’ll find the full code on GitHub. You’ll want to flash this onto the Photon. Feel free to customize the firmware to meet your needs. The main things you may want to change are the defines at the top:
// Input pin for LED Strip
#define PIXEL_PIN 2

//Total number of pixels
#define PIXEL_COUNT 58

// Your Pixel Type (in my case RGBW)
#define PIXEL_TYPE SK6812RGBW
Web Interface
I wrote a custom web interface called MissionControl that I may write more on later which controls several IoT Devices in my home including the LED Strip. Here I’ll go over some of the basics as they pertain to the LED strip itself.
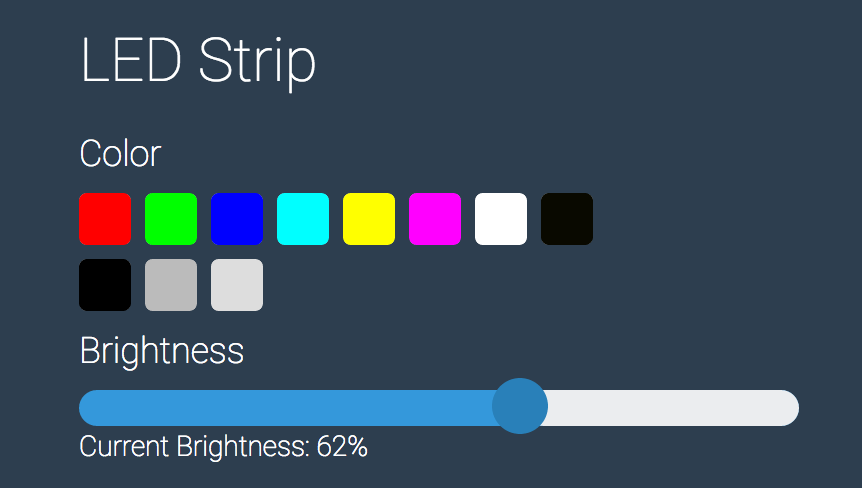
Cloud Variables and Functions
I’m using two particle.functions ( POST ) and two particle.variables ( GET ). One for the color and one for the brightness.
Functions
hex — Accepts an eight digit hex value (RGBW) to be used to set the color. For example: FF000000 is Red.
bri — Accepts an int value 0-255 where 0 is off and 255 is 100% bright.
You’ll also need to send your access_token to make the POST request.
// POST Request URLS
https://api.particle.io/v1/devices/DEVICE_ID/hex/
https://api.particle.io/v1/devices/DEVICE_ID/bri/
Variables
curBri — Used to retrieve the value of bri returning a 0-255 value.
curHex — Returns the value of hex which is an 8 character string.
// GET Request URLs
https://api.particle.io/v1/devices/DEVICE_ID/curBri/
https://api.particle.io/v1/devices/DEVICE_ID/curHex/
Usage:
If you’re using jQuery like me your code may look something like this:
//Partical.io Photon setup
particleDeviceID = "1234567890";
particleDeviceSecret = "ABC123DEFG4567";
particleAPIServer = "https://api.particle.io/v1/devices";

function setLedColor(id,token,hexValue,successMessage){
var postURL = particleAPIServer + "/" + id + "/hex/";

$.ajax({
type: 'POST',
url: postURL,
data: {
args: hexValue,
access_token: token
},
dataType: "json",
success:(function(data){
if (data['return_value'] == "1"){
ajaxSuccess(successMessage);
}
}),
error :(function (){ ajaxFailed();}),
complete :(function(data){
if (data['return_value'] == "1"){
ajaxSuccess(successMessage);
}
}),
});
}

function setLedBrightness(id,token,brightness,successMessage){
var postURL = particleAPIServer + "/" + id + "/bri/";

$.ajax({
type: 'POST',
url: postURL,
data: {
args: brightness,
access_token: token
},
dataType: "json",
success:(function(data){
if (data['return_value'] == "1"){
ajaxSuccess(successMessage);
}
}),
error :(function (){ ajaxFailed();}),
complete :(function(data){
if (data['return_value'] == "1"){
ajaxSuccess(successMessage);
}
}),
});
}

function getLedBrightness(id,token){
var getURL = particleAPIServer + "/" + id + "/curBri/?access_token=" + token;
var result = "";
$.ajax({
type: 'GET',
url: getURL,
async: false,
success:(function(data){
result = data['result'];
}),
error :(function (){ ajaxFailed();}),
});
return result;
}
//returned on fail
function ajaxFailed() {
$(".results").stop().fadeIn().html("Error Occured, Please Try Again.").removeClass().addClass("results alert-error").delay(3000).fadeOut(2000);
}
//returned on success
function ajaxSuccess(status){
$(".results").fadeIn().html( status ).removeClass().addClass("results alert-success").delay(3000).fadeOut(2000);
}
Later in your JavaScript you’ll uses the above functions like the following:
GET the Brightness
startBrighness = parseInt(getLedBrightness(particleDeviceID,particleDeviceSecret));
SET the Brightness
startBrighness = parseInt(getLedBrightness(particleDeviceID,particleDeviceSecret));
SET the Color
setLedColor( particleDeviceID,particleDeviceSecret, '#FF000000' ),"Setting lights to: " + Red );
Hope that helps get you started and let me know if you have any questions in the commets 🙂
